
About
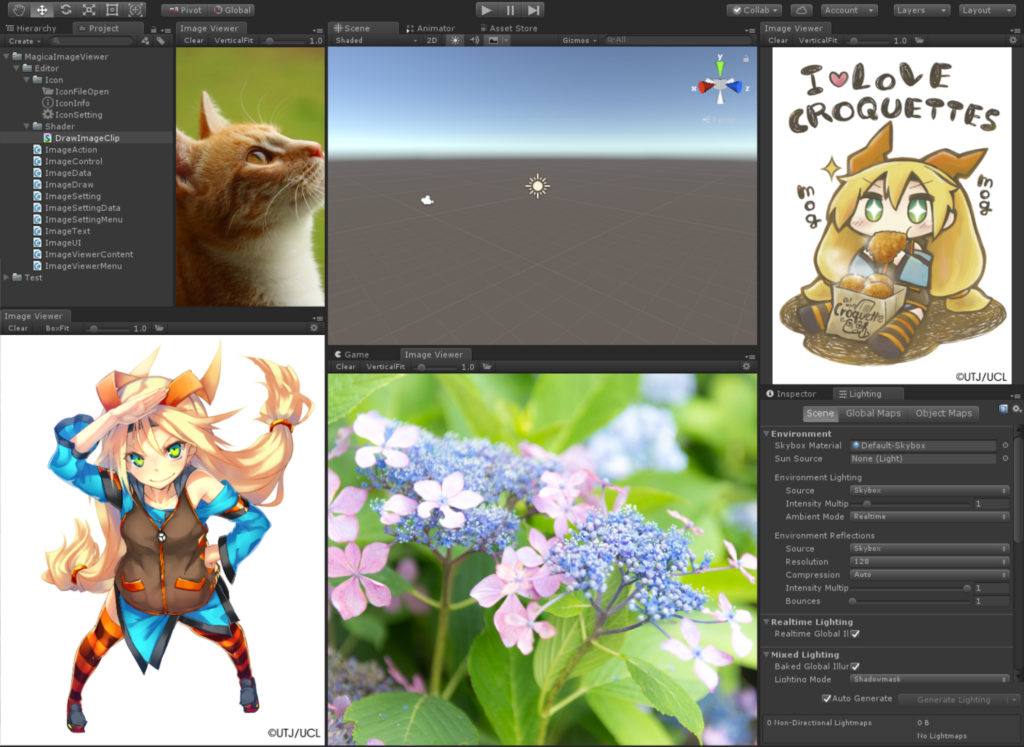
Magica Image Viewer is an editor extension that can display your favorite images in UnityEditor.
The image can be of project asset or anything just stored on disk.
On the viewer screen, enlargement / reduction and scrolling are possible with simple operation.
The source code of the viewer and the image to be displayed do not interfere with the build contents of the project at all.
Feature
- You can work while displaying your favorite images in UnityEditor
- Image switching is possible by dragging and dropping from Windows Explorer / Mac finder
- Scaling and scrolling of images can be easily operated
- Currently only images in JPEG and PNG format can be loaded.
- PNG images can be transparently processed
- You can customize operation method to key / mouse freely
- The source code of the viewer and the displayed image do not interfere with the build content of the project at all
- Full source code included
Requirements
- Unity2018.1 over.
Installation
1.Open the AssetStore window from Unity and import MagicaImageViewr.
2.After importing, the following directories are created.
Assets/MagicaImagerViewer
Workflow
1.Open viewer window
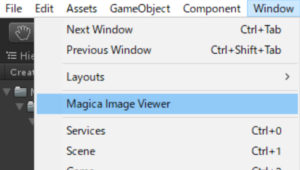
Select Windows / Magica Image Viewer from the menu to open the Image Viewer window.
The window can be arbitrarily docked to the UnityEditor and can open multiple windows.
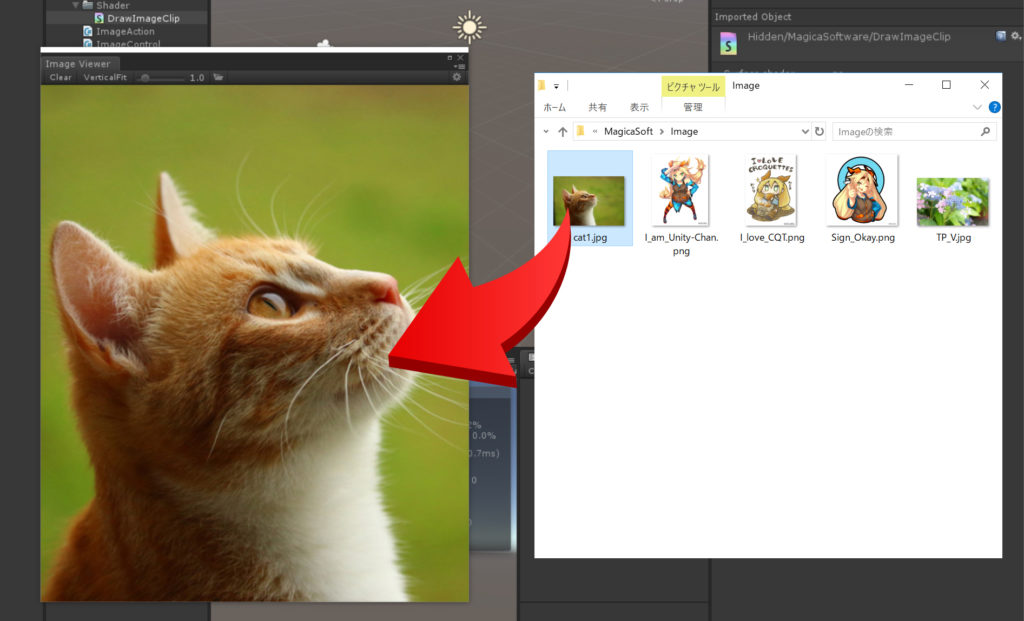
2.Load image
Images are automatically loaded by dragging and dropping images from Windows Explorer or Mac Finder into the viewer window.
3.Image control
In the initial state, the basic image operation is as follows.
- Mouse left drag … Image scroll
- Mouse right drag … Image scaling
- Mouse wheel … Image scaling
- Mouse left double click … Reset image operation
- [F] key … File open dialog
- [C] key … Image clear
- [E] key … change fit mode
- [R] key … Reset image operation
4.Tool bar

Basic operation can be performed by tool bar.
(1) Image clear
(2) Initial display mode selection of image (Fit mode)
(3) Image scaling
(4) File open dialog
(5) When locked, the image will be reloaded automatically the next time the editor is started.
(6) Setting Menu
5.Fit mode
You can select how to arrange to the window at the time of image reading.
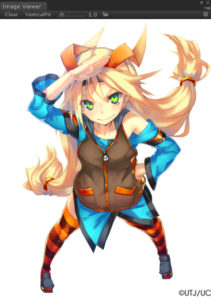
- [VerticalFit] … Fit the image vertically to the window
- [HorizonFit] … Fit the image next to the window
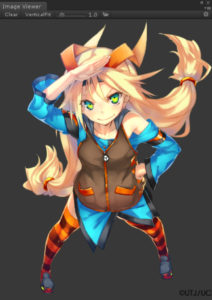
- [BoxFit] … Adjust the entire image to fit in the window
- [ImageSize] … Display with the resolution of the image itself
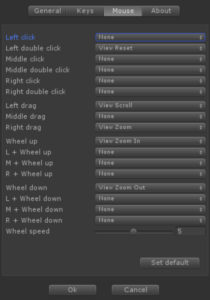
6.Settings
By pressing [![]() ] on the tool bar, the setting screen will be displayed.
] on the tool bar, the setting screen will be displayed.
Here you can customize the display method and operation method.
You can reset the setting at any time by pressing the [Set Default] button on the bottom right.
Settings are saved in the shared area of the PC and shared between UnityEditor. (It is not saved for each project)
These are the same as the Preferance setting etc. of UnityEditor.
7.Transparent Image
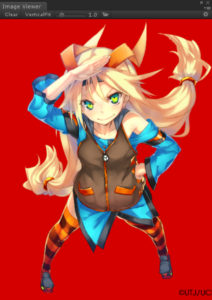
Transparency processing is performed by checking the setting [Transparent PNG].
Also, by changing [PNG alpha color], you can select the color of the alpha part.
Q&A
Q.Where is the image saved?
A.For images loaded in each window, only the image file path is saved.
These are saved in your project, YourProject / Library / CurrentLayout.dwlt.
Q.I can not read TGA files etc.
A.Currently only JPEG files and PNG files can be read.
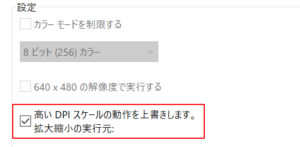
Q.I feel the image is rough
A.The influence of the scale mode of Windows 10 is considered.
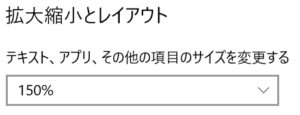
UnityEditor is also automatically scaled when this enlargement ratio exceeds 100%.
As a result, the viewer image is also stretched and displayed rougher than the actual resolution.
To avoid this, it is necessary to set the scale mode to 100%, or check “High DPI setting” from the property of UnityEditor and activate the editor at the same magnification.
Coming Soon
- Image flip/rotation.
- Slide show.