Contents
Introduction
Here, we will explain collision detection with the human body, which is indispensable when simulating character clothing.
Collision detection settings are common to BoneCloth and MeshCloth.
Collision detection type
MagicaCloth has four collision control mechanisms.
| Collider collision detection | Collision detection with colliders such as spheres, capsules and planes. This is the most commonly used method. I will explain on this page. |
| Backstop | A method of preventing cloth from entering the human body by setting the distance and radius that can be entered in the direction of the vertex normal. |
| Self-collision | self-collision. Prevents the cloth from digging into itself. |
| mutual collision | Mutual collision. Prevents cloth from biting into other cloth. |
This page only describes collider collision detection.
For other collision detection, please refer to the dedicated guide page.
Principle of Collider Collision
The principle of collider collision detection is simple, and it extrudes so that vertices do not intrude into collider shapes such as spheres and capsules.
By arranging this collider according to the shape of the human body, it is a mechanism to prevent cloth from entering.
Collider type
Colliders come in several shapes.
Sphere Collider
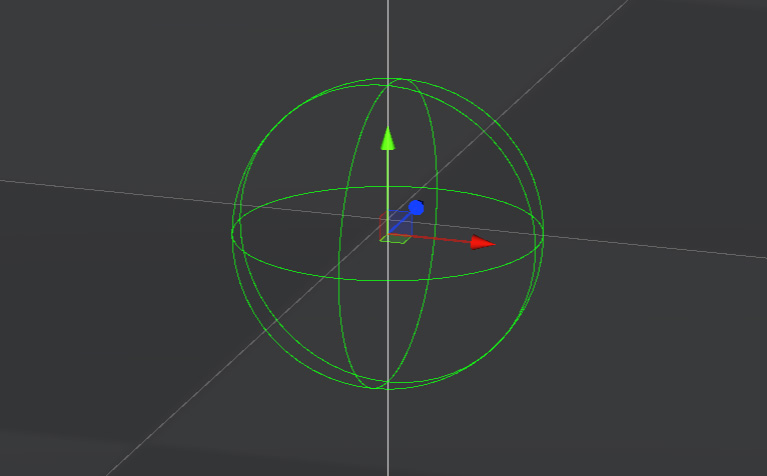
A spherical collider.
Capsule Collider
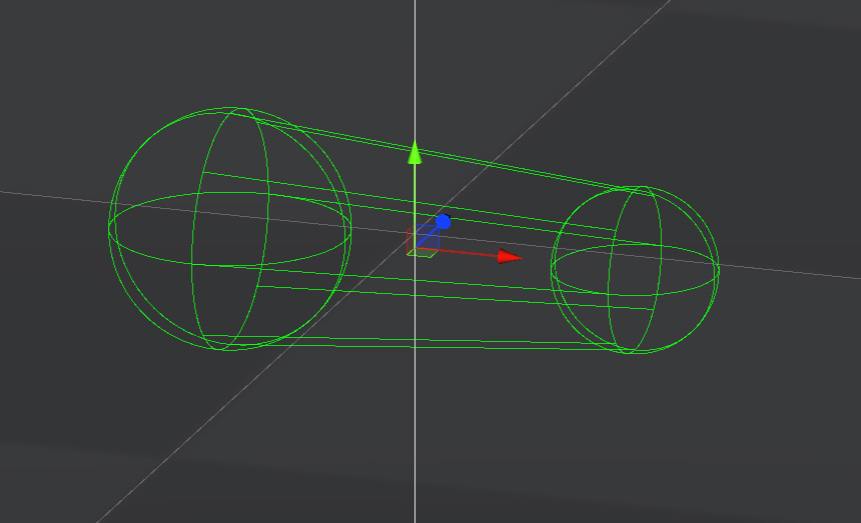
It is a capsule type collider.
You can change the radius and length of the start and end points.
Plane Collider

A planar collider.
The size cannot be set.
Treated as an infinite plane.
collision mode
You can choose how proxy meshes are judged for colliders.
vertex sphere mode
Treat the vertices of the proxy mesh as spheres and perform collision detection with colliders.
The size of the sphere can be adjusted.
There is an advantage that you can use it without worrying about it because the processing load is light.
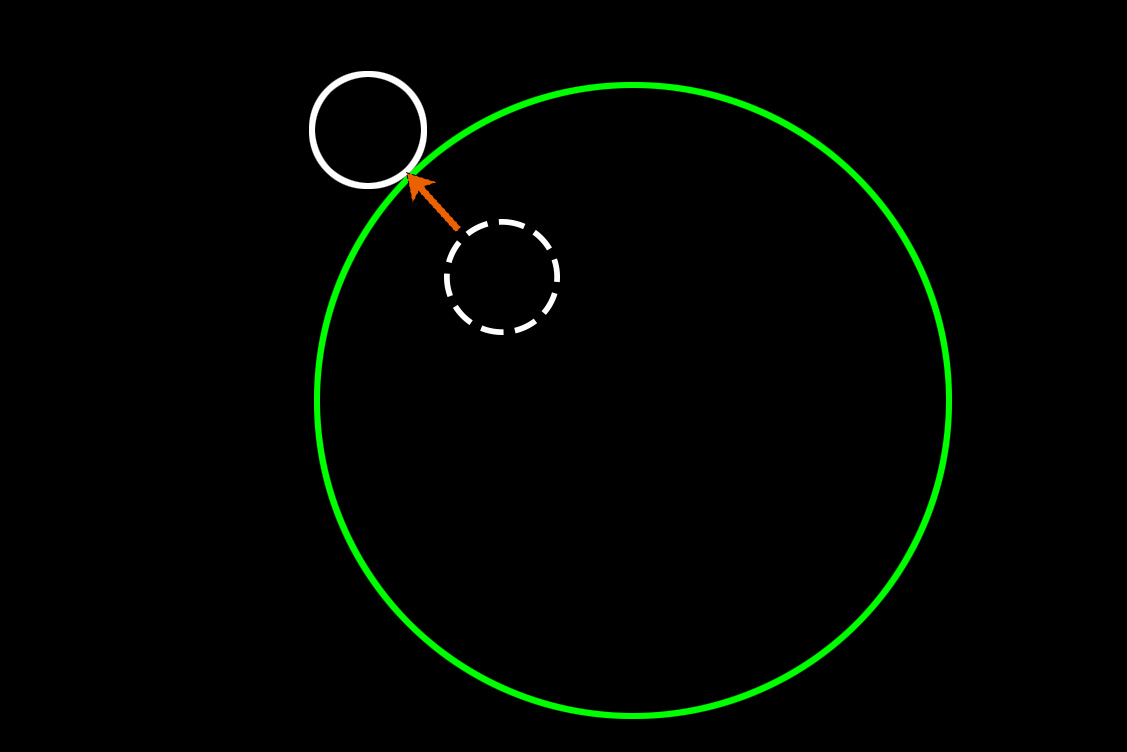
However, if the collider is small as shown below, there is a problem that it will pass through between the spheres, so be careful.
edge mode
This mode performs collision detection between proxy mesh edges and colliders.
Edge thickness can be adjusted.
Edge mode has the great advantage of not having the slip-through problem of sphere mode.
However, it should be used with caution as the processing load is higher than the sphere mode.
You should only consider using it if you have problems with vertex sphere mode.
Collider placement
Let’s set up a collider using KAGURA’s skirt as an example.
It is assumed that the skirt has already been set up using MeshCloth.
In the case of a skirt, we need a leg collider and a waist collider.
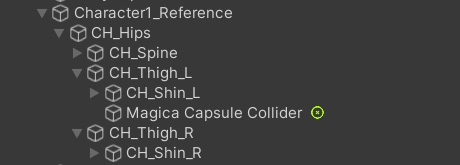
First, select the left leg bone.
In KAGURA, it will be [CH_Thigh_L].
Then open the right-click menu and select Create Other/Magica Cloth2/Magica Capsule Collider.
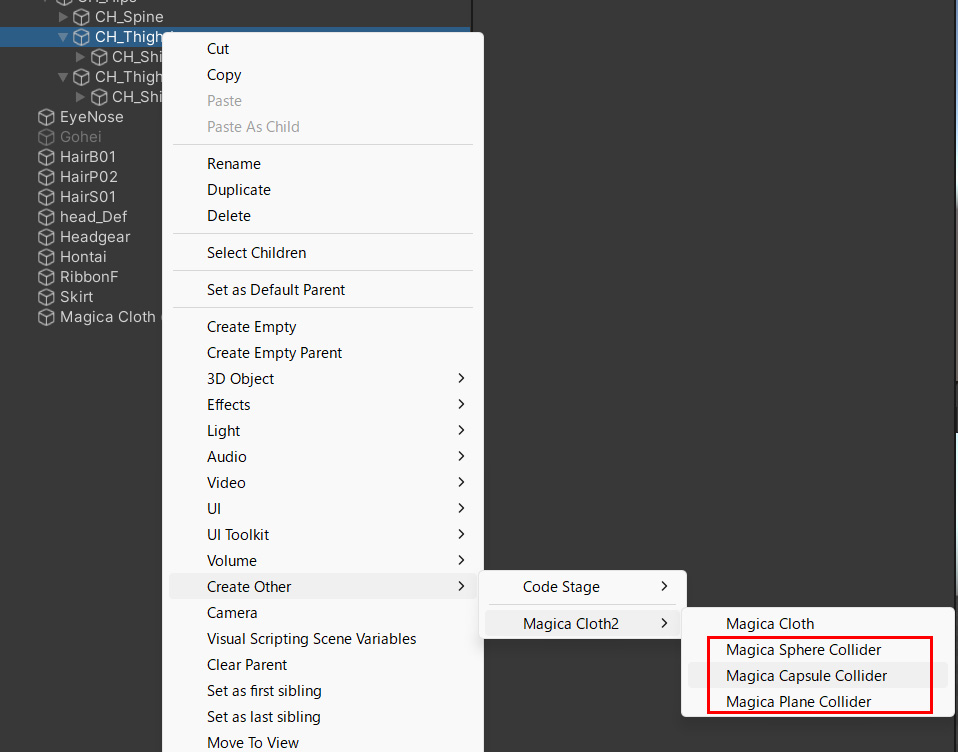
A Capsule Collider component has been added as follows:
The gizmo will now appear in the scene view.

An important thing to note about placement is that the scale of a collider needs to be uniform on the XYZ axes.
This is not a local scale, but a global scale including the parent.
Please note that if the scale is non-uniform, collision detection will not work correctly.


Use the capsule collider inspector to adjust the position and size.

Capsule colliders can be set separately for direction, length, and start and end radii.
Try changing each parameter.
You should see the scene view gizmo transform accordingly.
If you want to set the start and end points of the capsule collider to different sizes, press the [S] button in the inspector as follows.
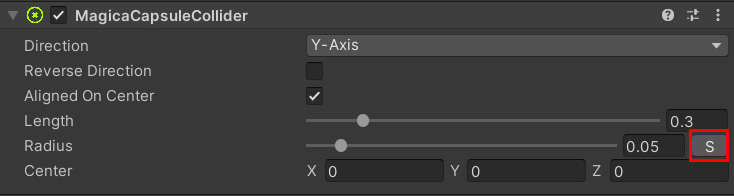
This allows you to set the start and end radii independently.
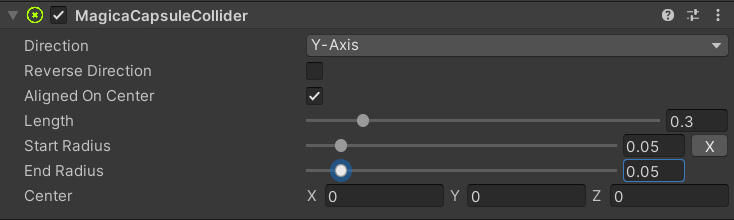
You can also reverse the direction using ReverseDirection, or align the center to the starting point by turning AlignedOnCenter off.
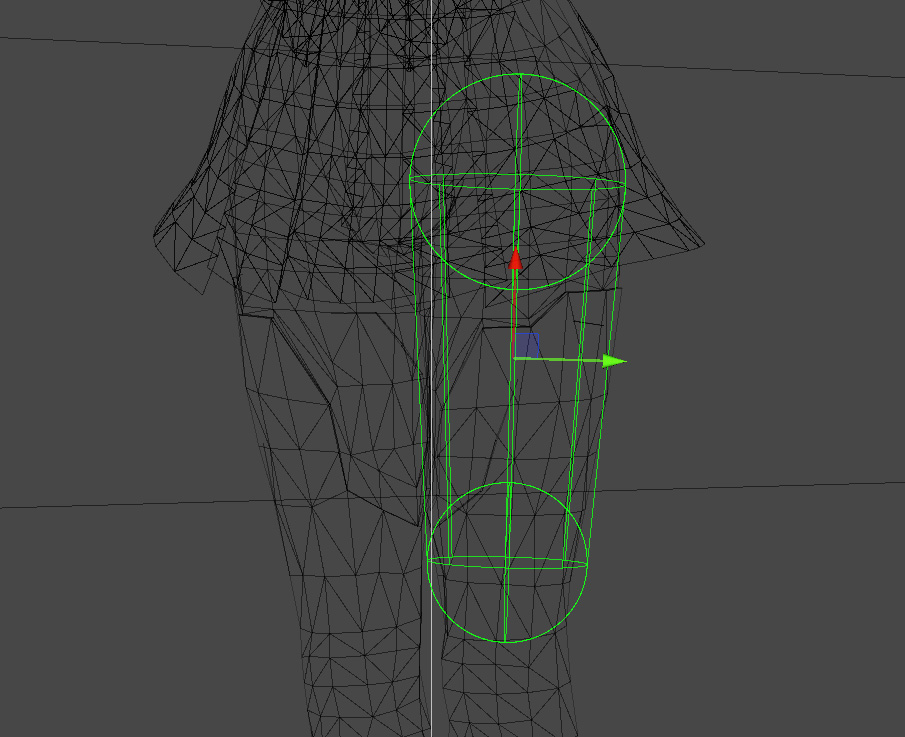
Use these properties to adjust the collider to fit your legs.
When adjusting, change the scene view to wireframe mode for better visibility.

Also, it is often easier to adjust the position by moving the collider’s GameObject instead of the Center property.
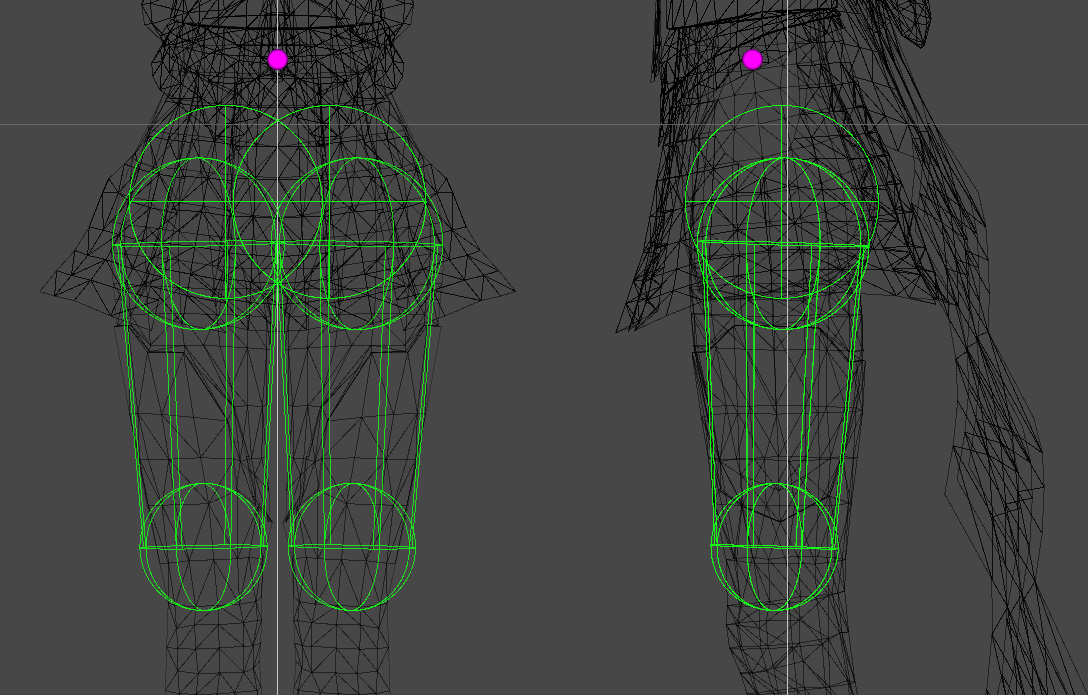
Adjust the collider to position it like this.
Let’s add a SphereCollider to the hip in the same way.
Select the hip bone [CH_Hips] and select SphereCollider from the right-click menu.
A Sphere Collider is added.

The Sphere Collider’s properties are simple, just the radius.

Adjust the radius and position to match the left hip line in the same way as the capsule collider.

Do this for the right side as well, and finally place the four colliders as shown in the image.
Symmetry Function
A left-right symmetry feature has been added from v2.15.0.
Using this feature, you can easily set up symmetrical colliders.
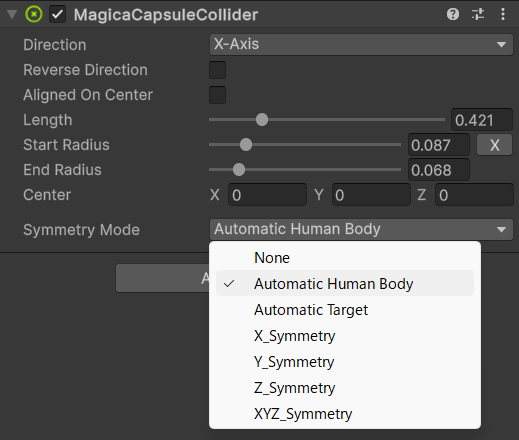
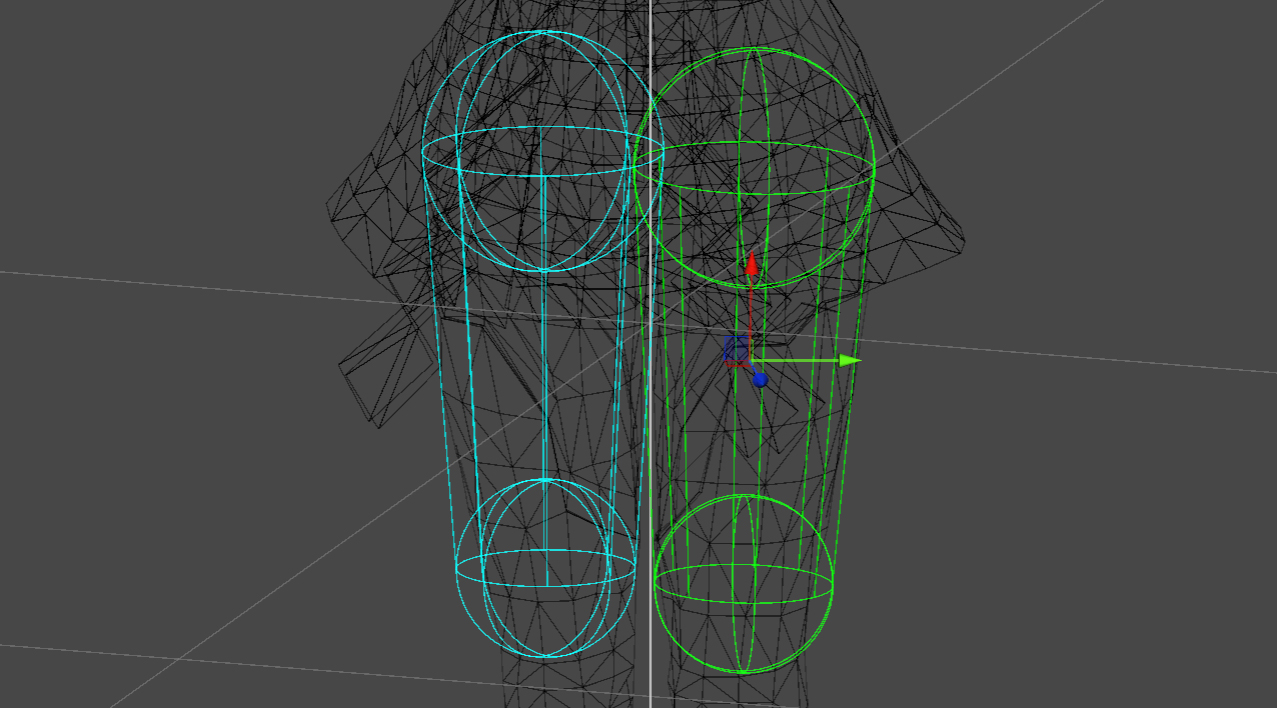
For example, try setting the SymmetryMode of a collider set up on only one side as shown below to “Automatic Human Body”.
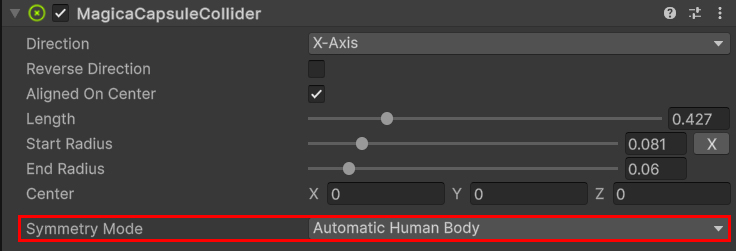
A symmetric collider is automatically set to match the structure of the human body.
Symmetry Mode
The Symmetry function has several modes.
The automatic setting is useful, but there are some conditions under which it can be used.
When the automatic setting is not possible, you will need to manually select the symmetry method.
| Automatic Human Body | All settings will be automatically made according to the structure of the human body. However, this requires that the character has an Animator and that a HumanoidRig is set. Also, the collider must be placed directly under the main bones of the human body. |
| Automatic Target | Automatically creates a symmetric collider under the specified Transform. |
| X-Symmetry | Creates a collider with the X-axis inverted under the specified Transform. |
| Y-Symmetry | Creates a collider with the Y-axis inverted under the specified Transform. |
| Z-Symmetry | Creates a collider with the Z-axis inverted under the specified Transform. |
| XYZ-Symmetry | Creates a collider with the XYZ-axis inverted under the specified Transform. |
Register a collider
Finally, let’s register the created collider to the cloth component.
Please note that the collider will not work without registration.
Collider registration is done in the Collider Collision panel.
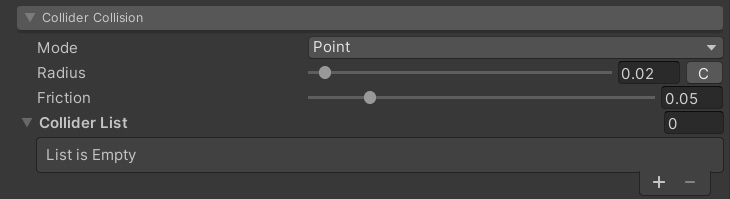
Register the generated collider in Collider List.
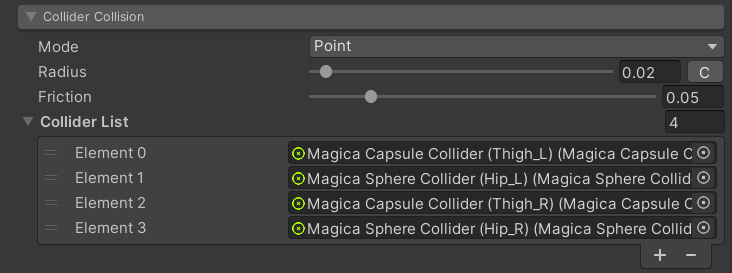
Collider setup is now complete!
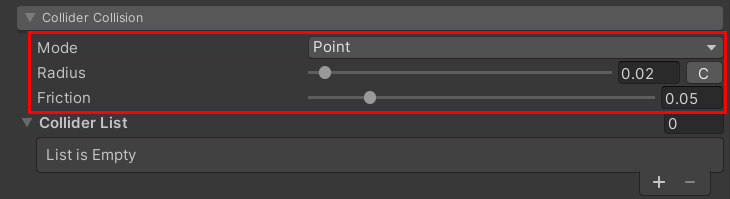
Setting vertex radius and friction
Finally, set the collision mode, its thickness (Radius), and friction (Friction).
Thickness can also use a curve to vary the radius depending on the depth of the proxy mesh vertices.
Try to operate the Radius slide bar.
The radius you set in the scene view should be reflected in real time.
Please adjust the size of the vertex sphere suitable for the placed collider while looking at this scene view.
This time, the size of the vertex sphere was uniformly set to 0.02.
Friction is how hard it is to slip when a collider and a vertex come into contact.
Increasing the value makes it less slippery.
Operation check
Now everything is set!
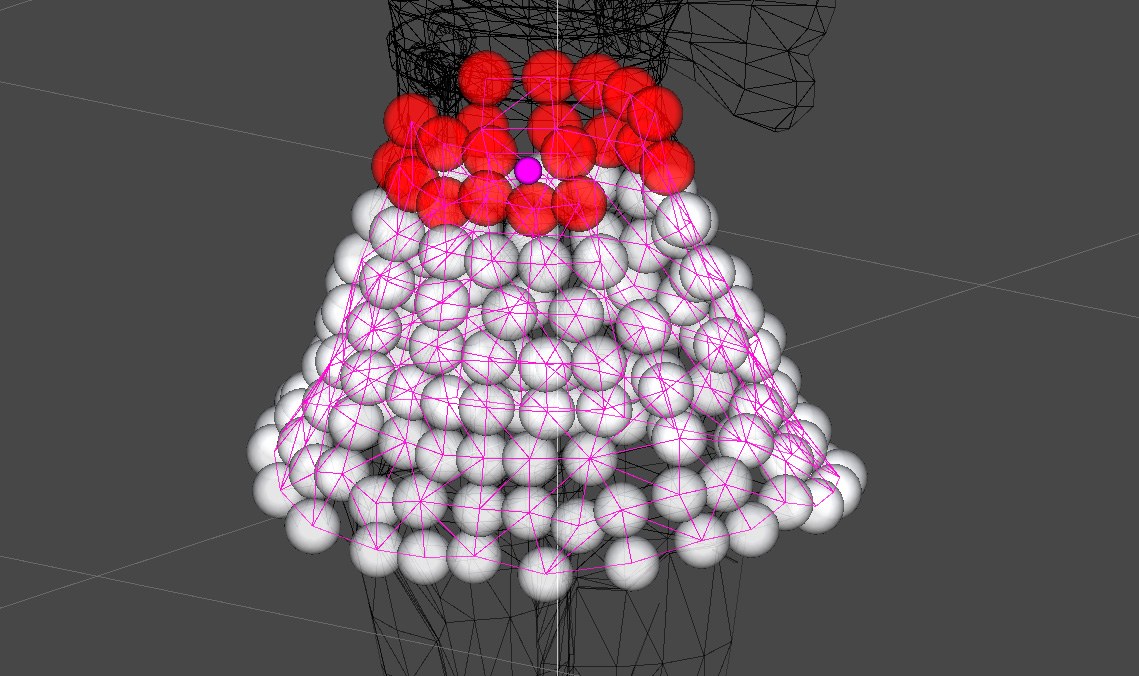
Let’s actually run it and check the movement.
It is a success if the collider set as follows and the vertices of the proxy mesh collide and prevent penetration!
What next?
So far, I have explained how to use BoneCloth and MeshCloth, and how to set up collision detection.
However, it is necessary to adjust a large number of parameters to perform the ideal movement.
The following parameter settings explain how they work.