Overview
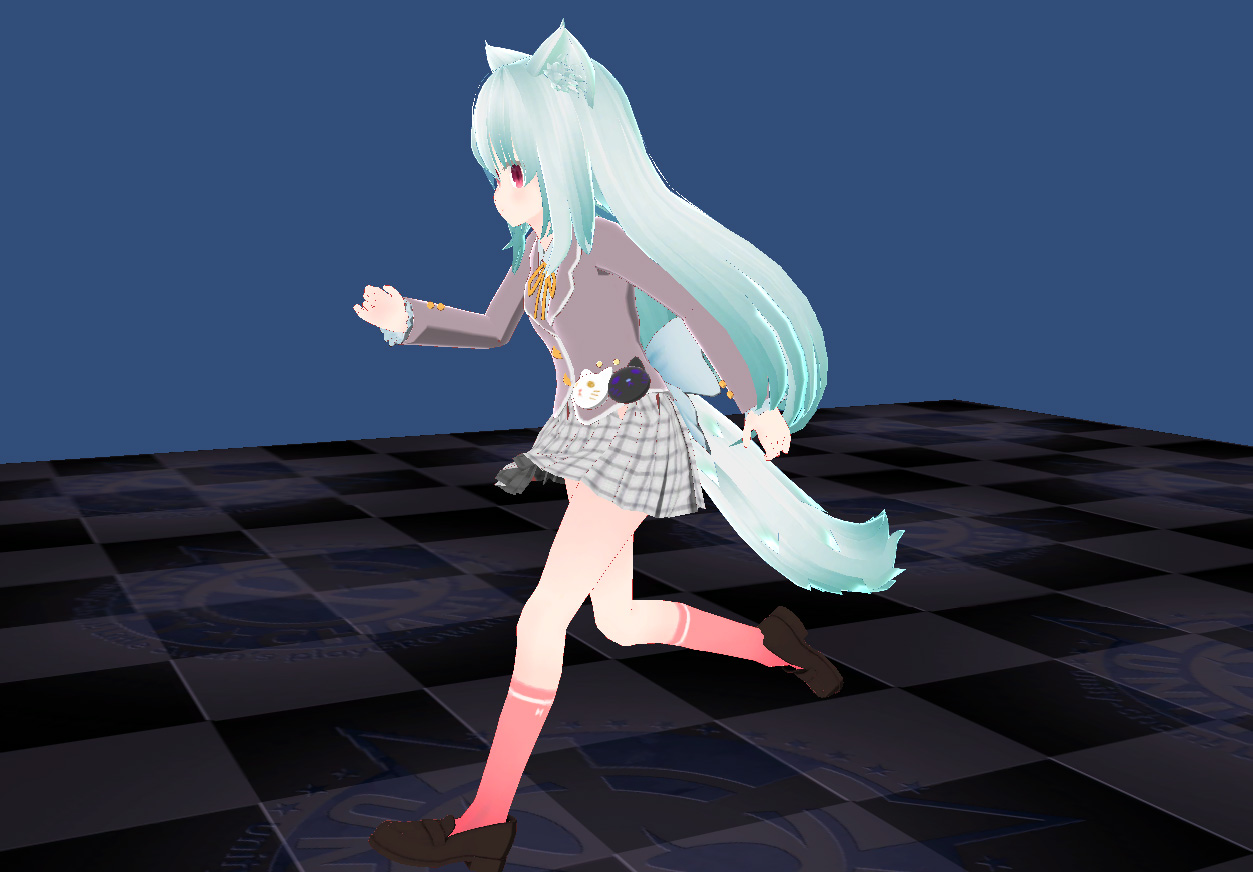
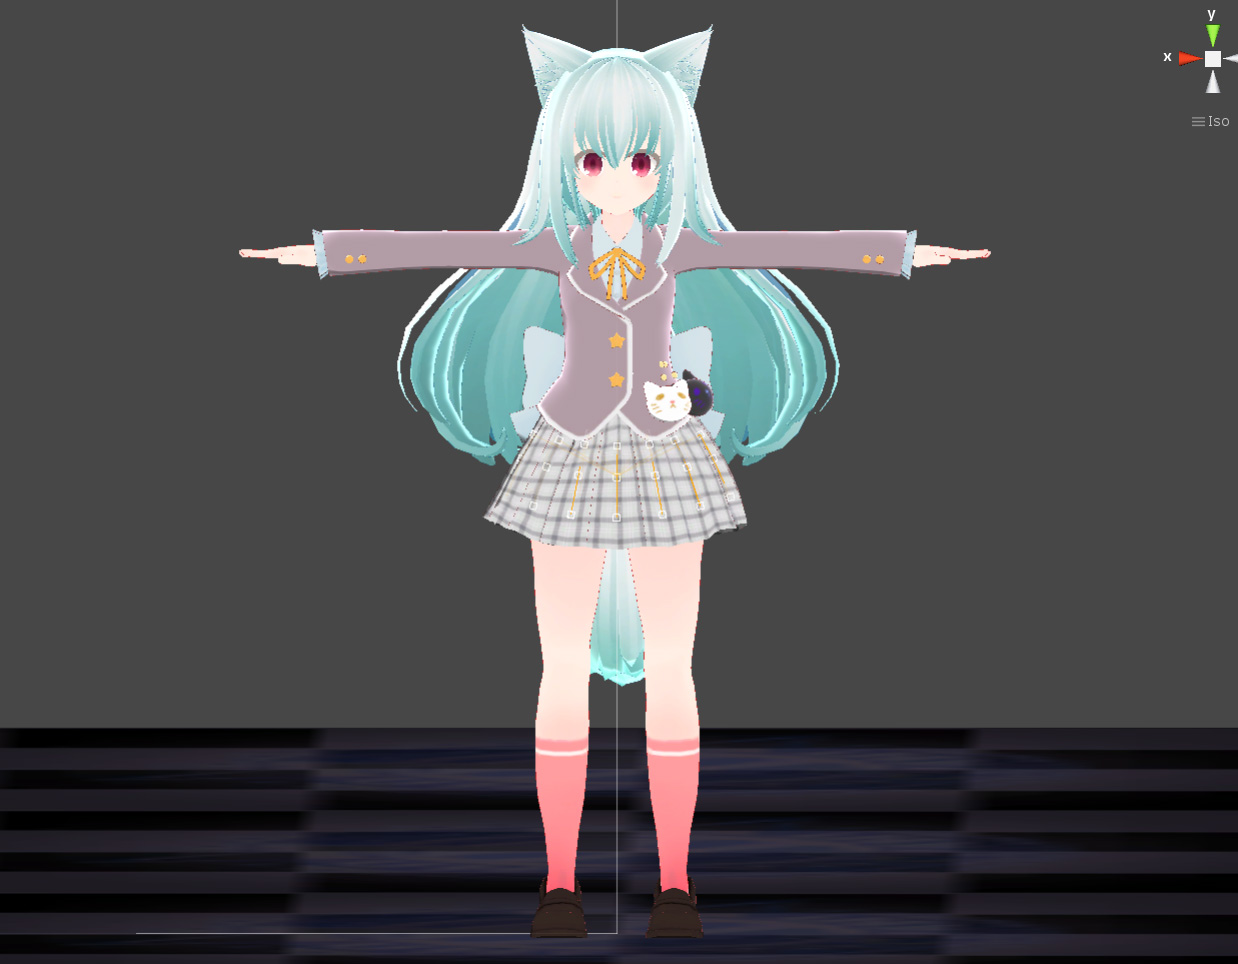
Here we will explain an example of setting a skirt using BoneCloth.
We will proceed on the premise that you have already learned how to set up BoneCloth.
If you haven’t already, read the BoneCloth Getting Started Guide.
(* Make sure to use the latest version of MagicaCloth)
Normally, human models wearing skirts often have bones built in to control the skirt.
BoneCloth expresses shaking by moving this skirt bone.
MagicaCloth also has MeshCloth, which allows you to perform cloth simulation for each vertex of the mesh.
In fact, MeshCloth is better in many ways.
However, BoneCloth has the biggest advantage over MeshCloth in that it is much lighter and has better performance.
Check skirt bone
First, check the skirt bones in advance.
The model used this time had bones built in as shown in the image below.
First, make sure this bone is installed at the proper location and spacing.
If the bone position deviates from the shape of the skirt, or if the bones are spaced too far apart, the accuracy of collision detection will be significantly reduced.
At a minimum, the bone spacing shown in the above figure is required.
If you have this issue, it is better to use vertex-based skirt control with MeshCloth instead of BoneCloth.
Bone Cloth settings
Now set up BoneCloth for the skirt bones.
Perform vertex painting and set fixed and moving points.

To set the cloth parameter, it is quick to apply the preset first.
Select [BoneCloth_Skirt] from the presets and apply.
Most parameters are set.
Specify spine bone as World Influence
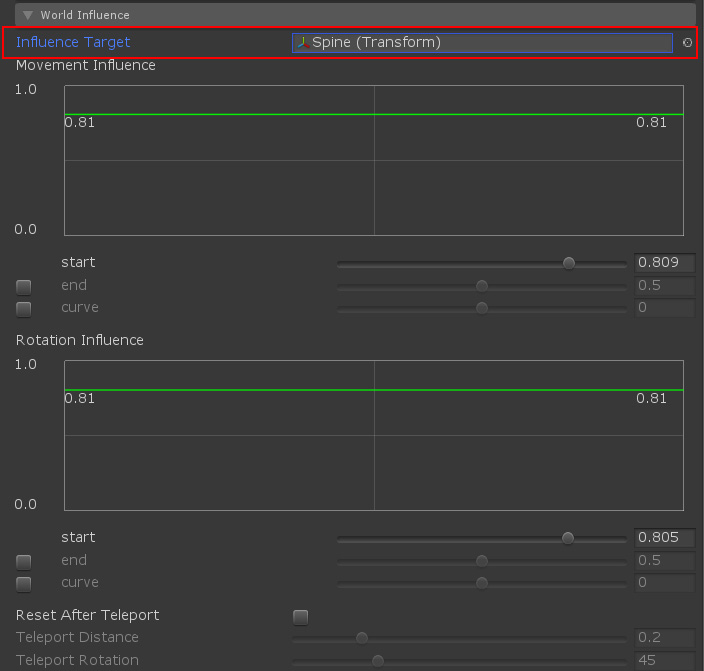
Although not required, it is recommended to specify the hip bone in the Influence Target of the World Influence parameter.
This makes it possible to control the movement effect around the waist bone.
For example, if you assign a hip bone to Influence Target and set [Movement Influence] and [Rotation Influence] to low values, the skirt will hardly shake even when the main body is animated or moved.
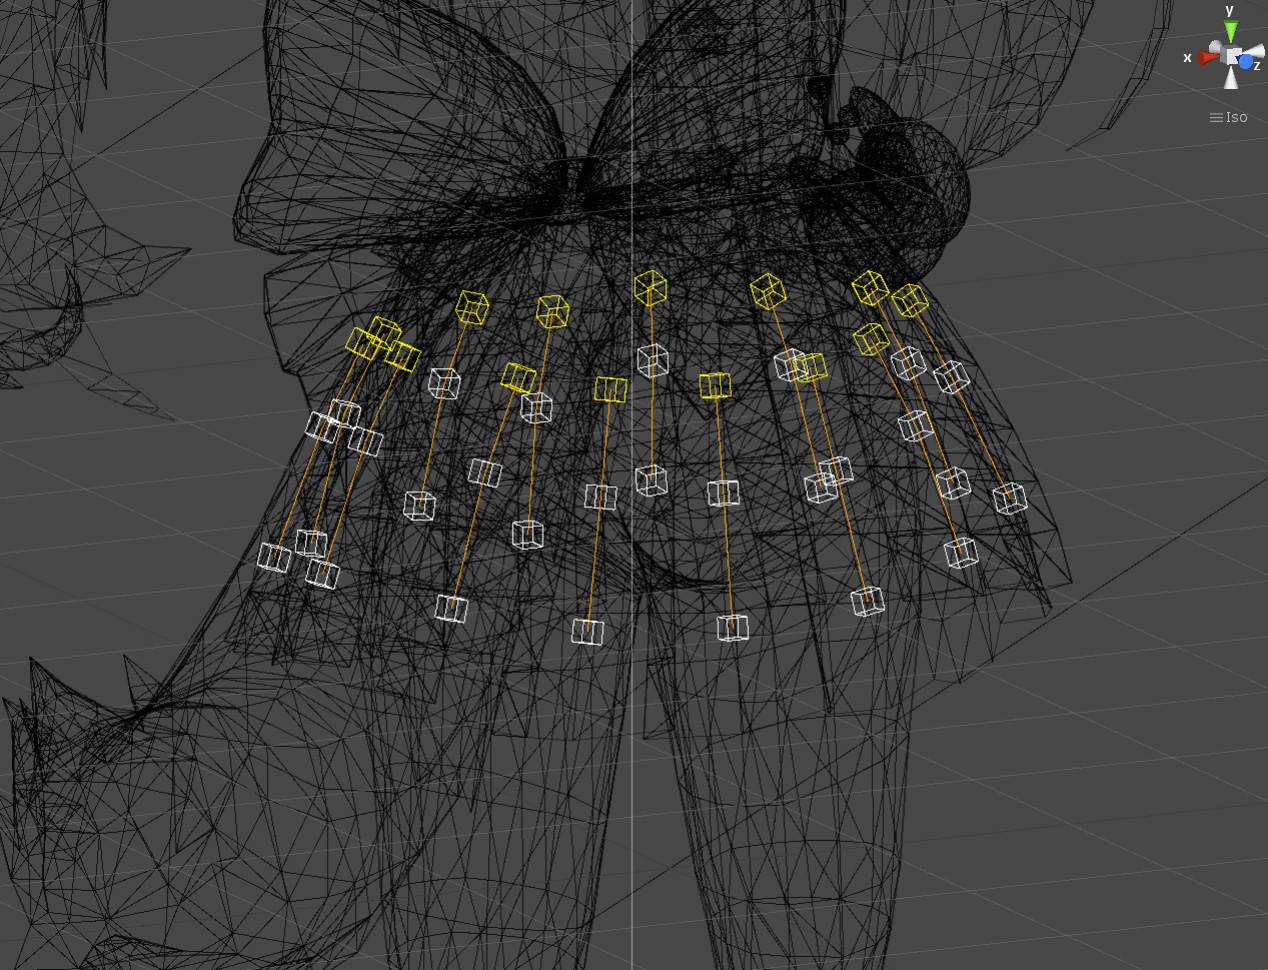
Connect horizontal bones with Near connection
This is the most important work when expressing a skirt with BoneCloth.
Normally, the skirt bones are linked vertically due to the parent-child structure, but not horizontally.
In the skirt, each particle is linked according to the movement of adjacent horizontal bones, so it is necessary to connect the bones sideways.
Also, if the horizontal bones are not connected, the accuracy of collision detection will be significantly reduced.
This setting is made by the Near Point parameter of Restore Distance.
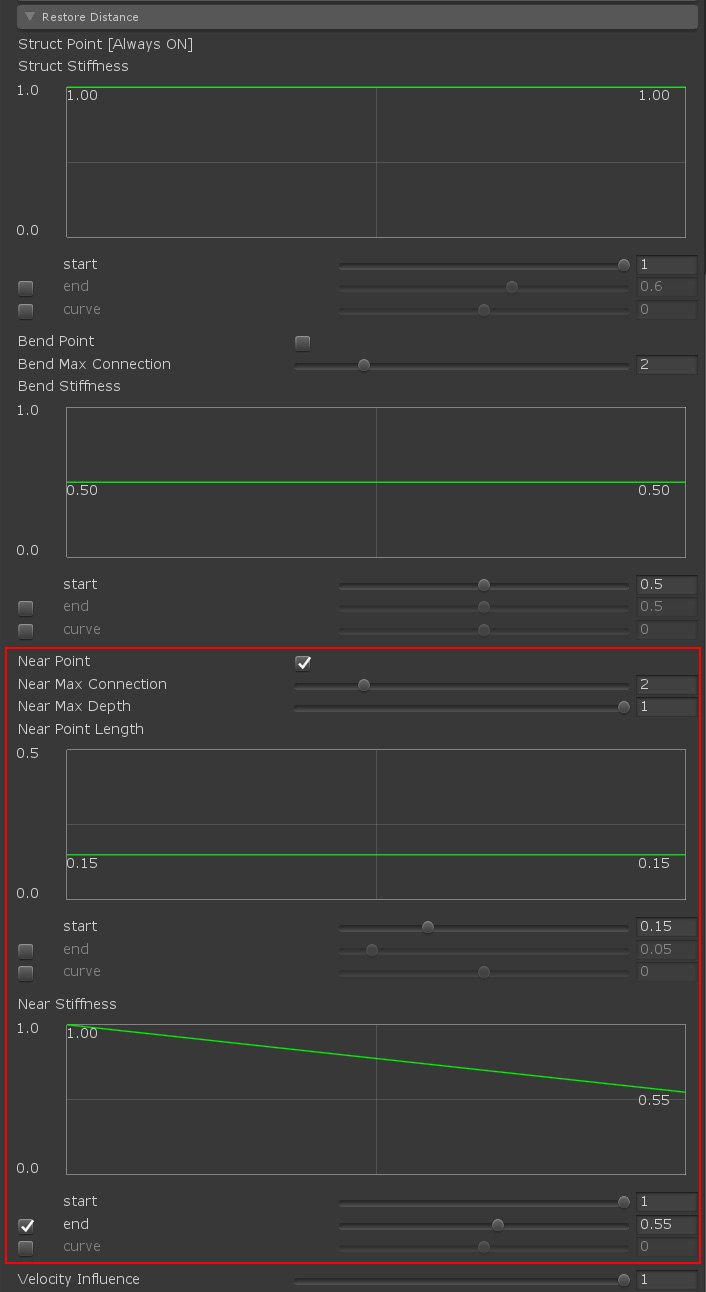
Please turn on this setting and create cloth data.
The distance and depth of the bones are controlled by [Near Max Connection], [Near Max Depth] and [Near Point Length].
This depends on the shape of the bone, so it takes some trial and error.
In this model, I connected as follows.
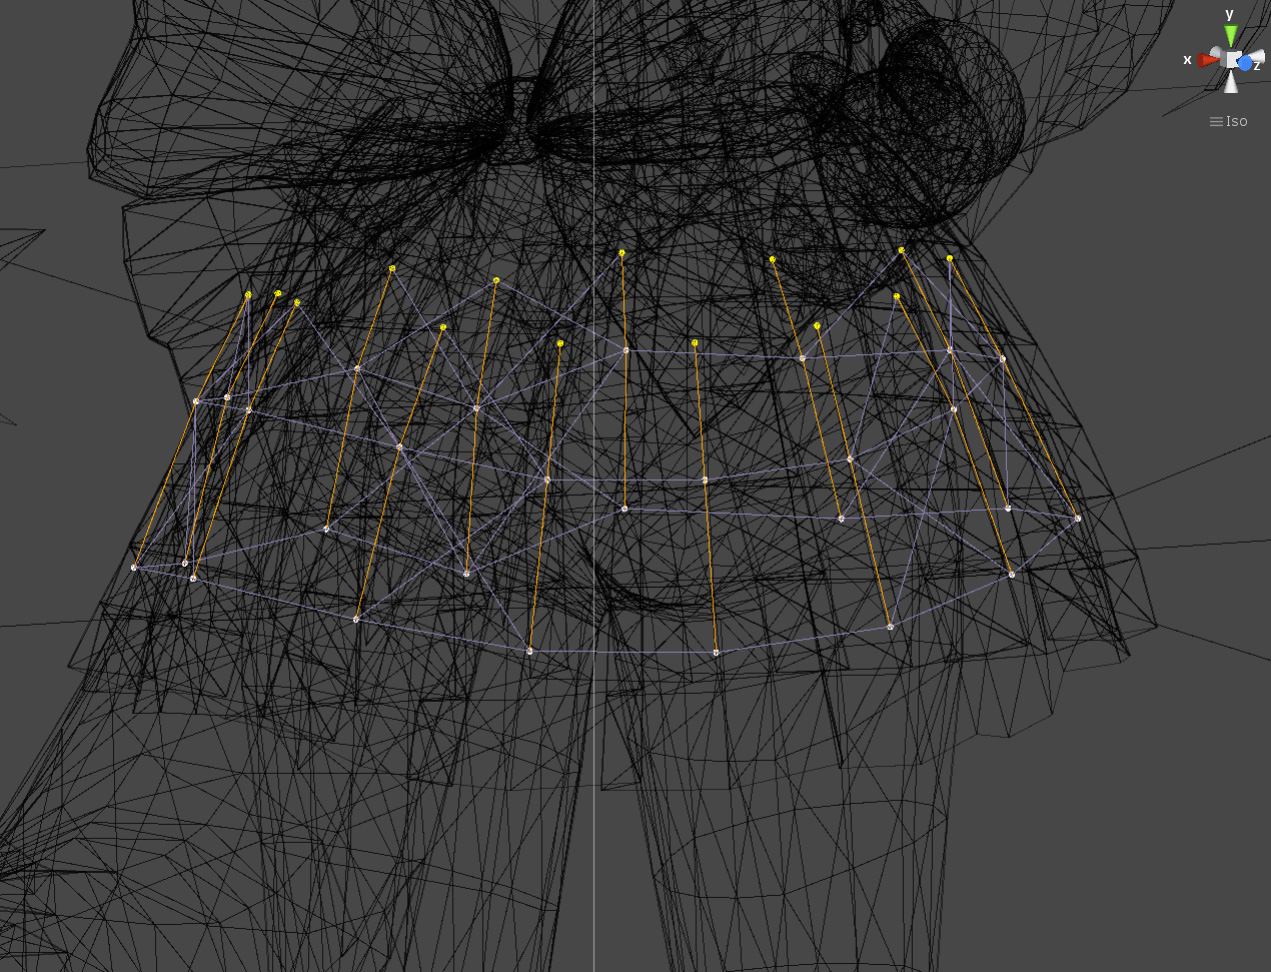
The light purple line in the image is the restoration line by Near connection, and the orange line is the restoration line (rotation line) by the parent-child structure of the bone.
The line of Near connection can be confirmed by turning on [Near Distance Line] of the cloth monitor.
About rotation line
It is this rotation line that is important in the cloth parameter Clamp Rotatin / Restore Rotation.
The rotation line extends from the fixed vertex to the end point of the moving vertex, and the rotation angle is controlled based on this line.
BoneCloth rotation lines are simply auto-generated from the Transform parent-child structure.
For example, in the bone structure of this skirt, the rotation line is as follows.
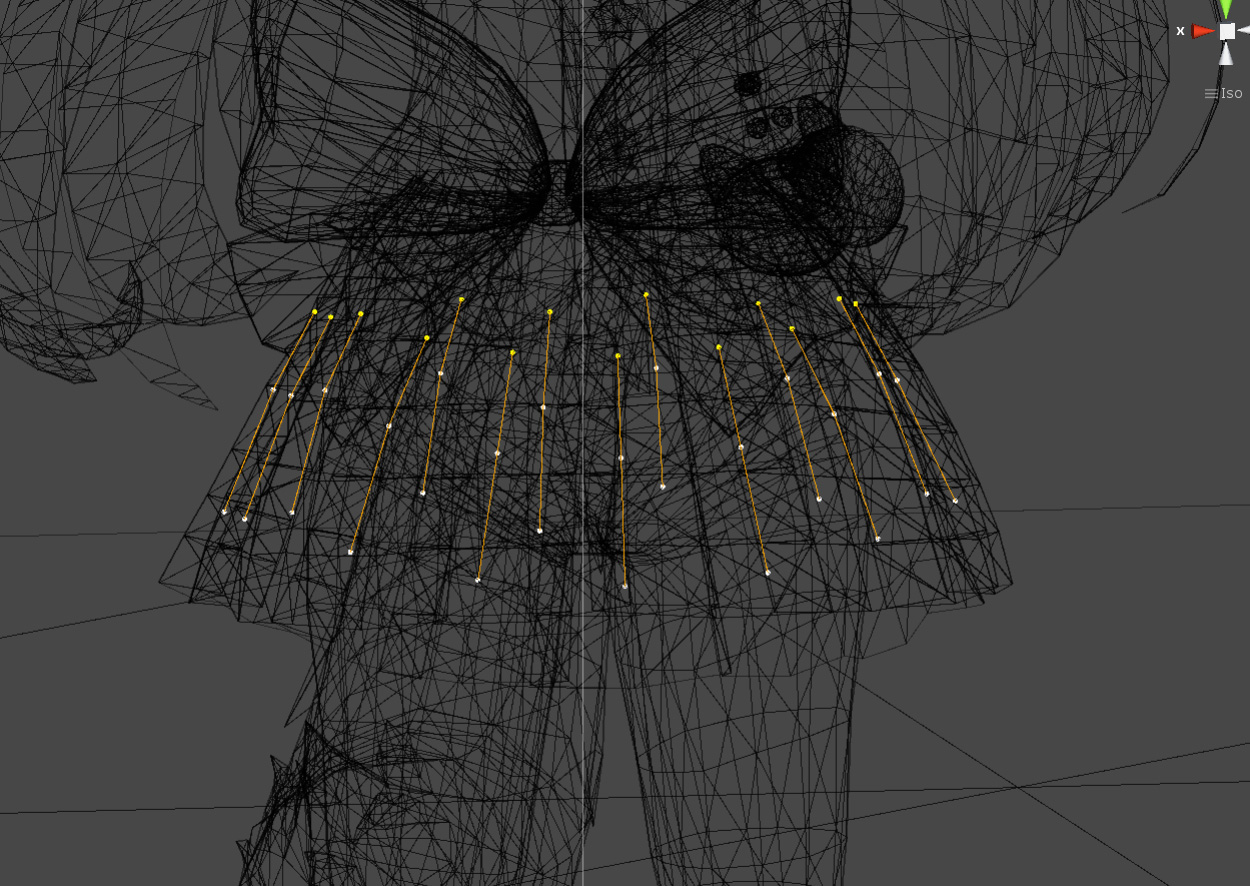
This can be confirmed by checking the [Rotation Line] on the cloth monitor.
Clamp Rotation settings
Although not required, it is better to limit the angle at which the skirt bends with Clamp Rotation.
This keeps the skirt in shape.
This time, I set it as follows.
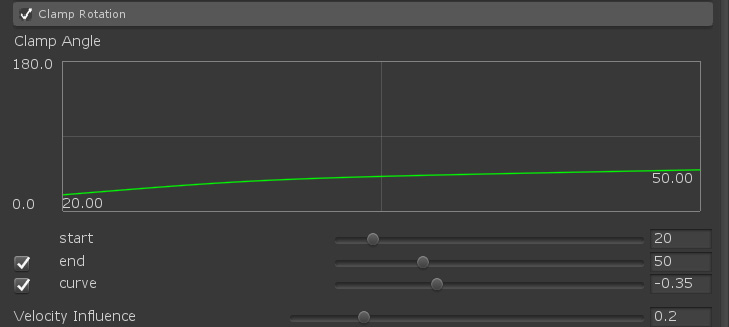
This means that the start point (fixed particle) of the rotation line can be bent up to 20 degrees and the tip can be bent up to 50 degrees.
However, please note that pushing by collision detection has a higher priority than this limit.
Restore Rotation settings
This is also not required, but restoring rotation will give better results with the force needed to restore the bend in the skirt.
This ensures that the skirt will always retain its original shape.

Although the value is low, 0.012 restores the shape with a fairly strong force.
Collider settings
After that, we will add colliders.
First, add the capsule colliders for both feet, and if necessary, the waist colliders.
The important thing here is to add one big sphere collider on your waist.
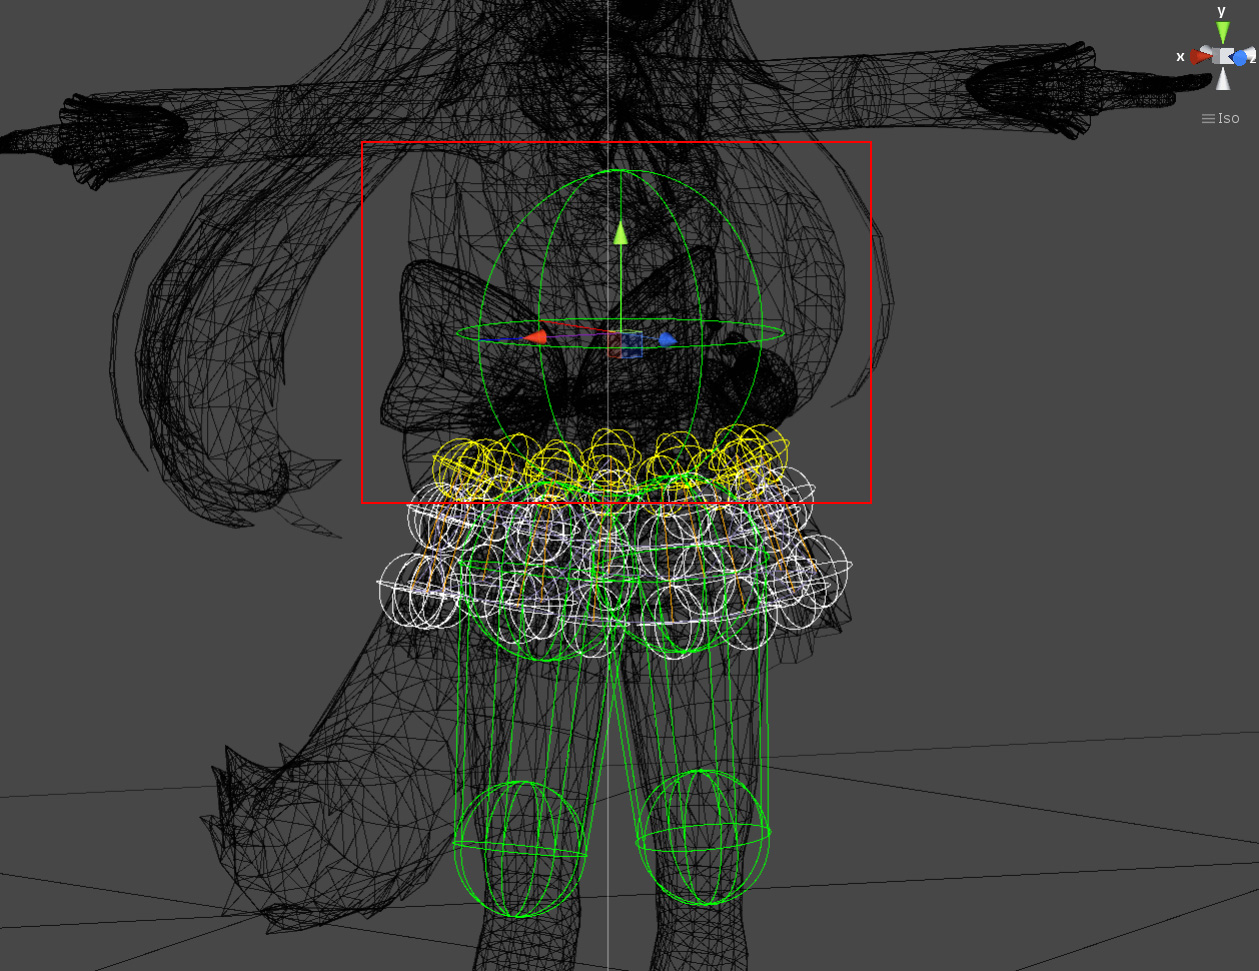
This acts as a lid that prevents particles in the skirt from slipping into the body due to violent movement.
It is not mandatory, but it is safe to add as much as possible.
Operation test
From here, try to actually execute it and adjust the parameters with trial and error.
Parameters can be changed during execution, so it is easy to adjust while actually moving.
Preventing penetration
If your skirt slips into your body or legs while running, try the following adjustments.
(1) Adjusting the position and size of the collider
(2) Adjusting particle size
(3) Adjustment of rotation interpolation
Rotation interpolation can set the following items with the Rotation Interpolation parameter.

| Fixed Non-Rotation | When turned on, fixed particles will not rotate at all. |
| Line Avarage Rotation | When ON, the bone rotation is interpolated to the average rotation from the connecting parent-child structure. |
Depending on the model, there are various types of skirt bone weighting, so combining these two checks may improve the shape and engagement.
(4) Settings for Surface Penetration / Collider Penetration
It limits the distance that particles can penetrate and prevents it from getting stuck.
Preventing penetration
This concludes the skirt guide with BoneCloth.